Cool pumpkin carving designs … exclusive to C-I-L
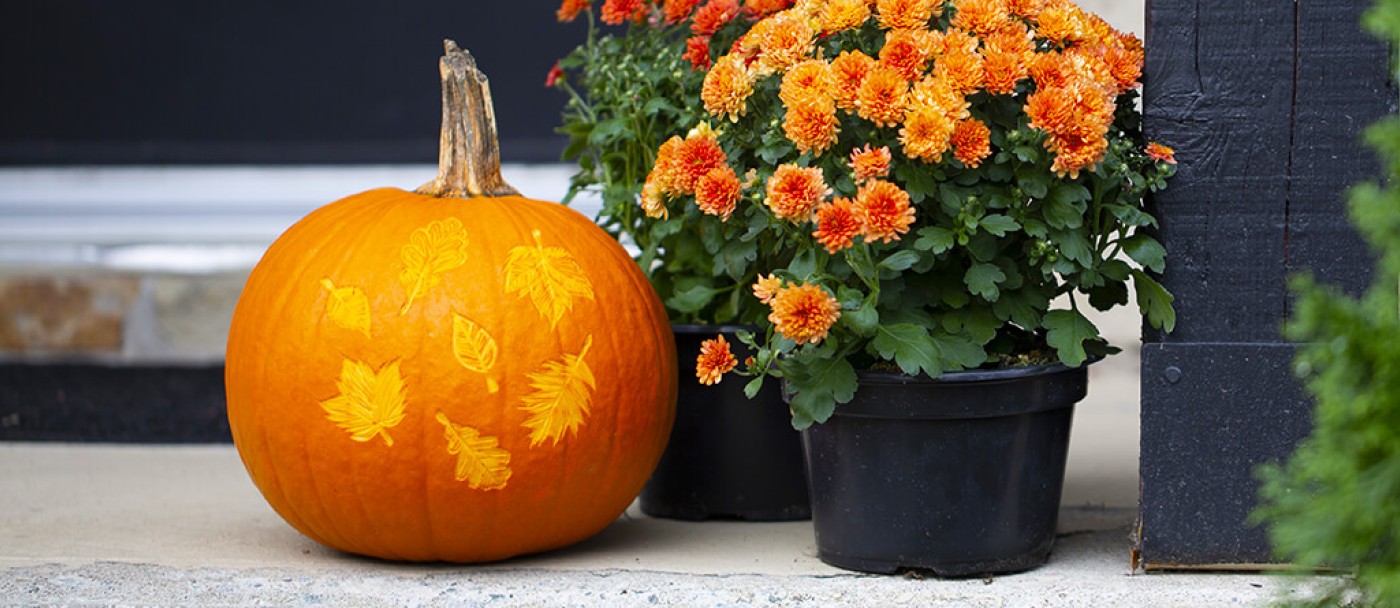
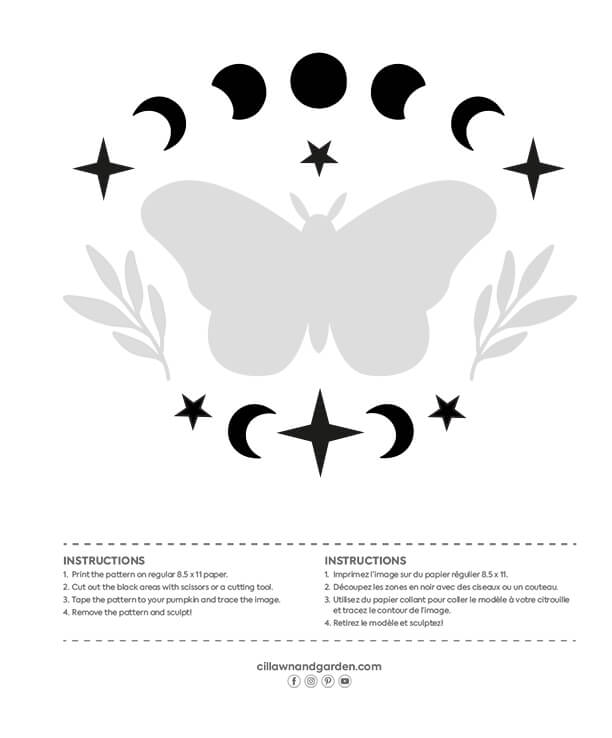
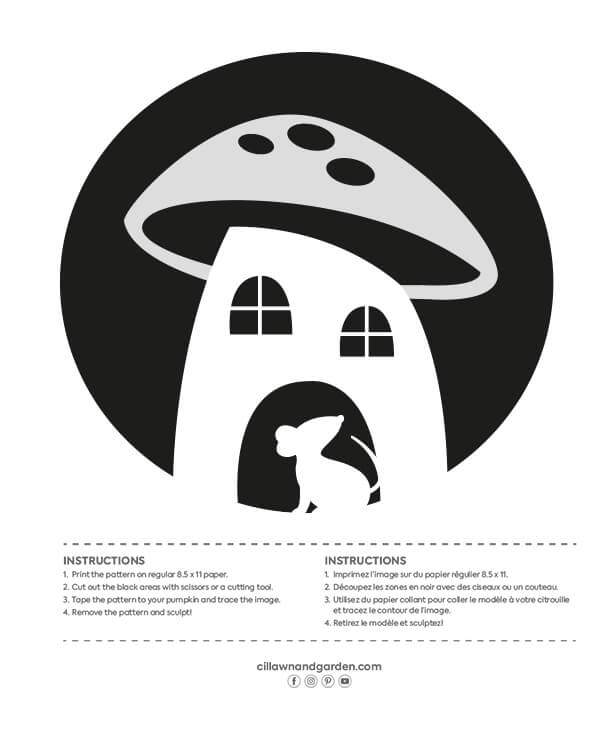
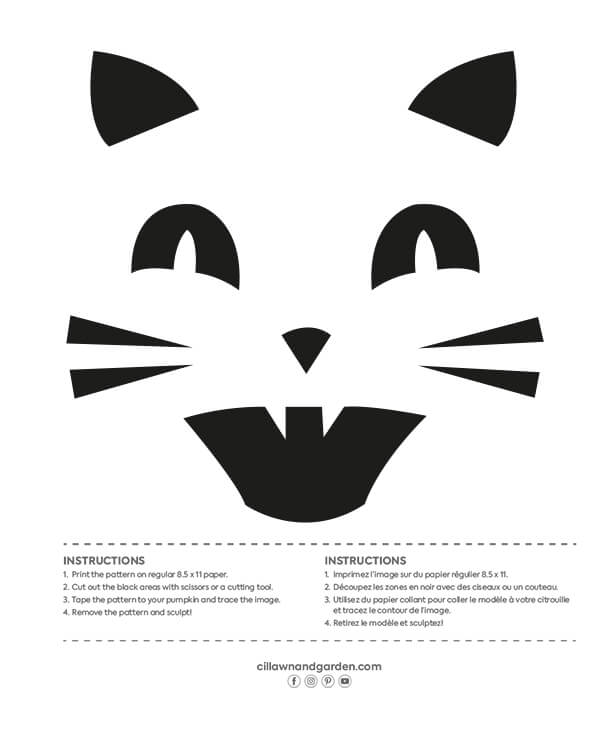
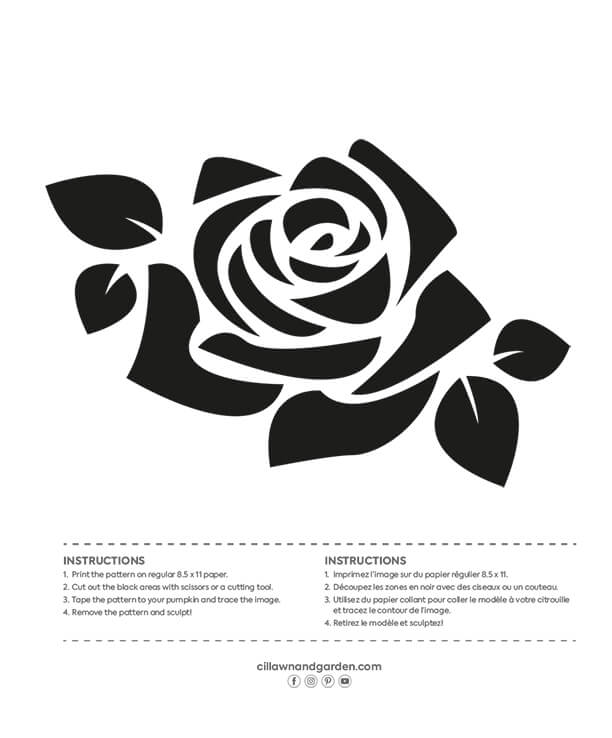
Are you tired of drawing scary faces on your pumpkins? With our exclusive templates, you will create works of art that will cause a sensation, inside and out!
The classic pumpkin, where the design is highlighted by a light source inserted into the pumpkin, is always a success. In the case of more complex designs, however, we invite you to try a technique that we particularly like which consists in removing only the skin of the pumpkin to reveal sumptuous details.
Whatever technique you use, this Halloween is sure to be memorable!
How to carve your Halloween pumpkin
To carry out the different steps of this project, you will need a small saw (e.g.: a drywall saw), a set of carving knives or a linoleum knife, a ladle or a large spoon for hollowing out, a tool for piercing holes (e.g.: punch, large needle) and adhesive tape.
Step 1. Preparation
Place your pumpkin on its side on a table or counter. Using the saw, cut out a circle on the top or bottom of the pumpkin.
Step 2. Hollowing out
Step 3. Image reproduction
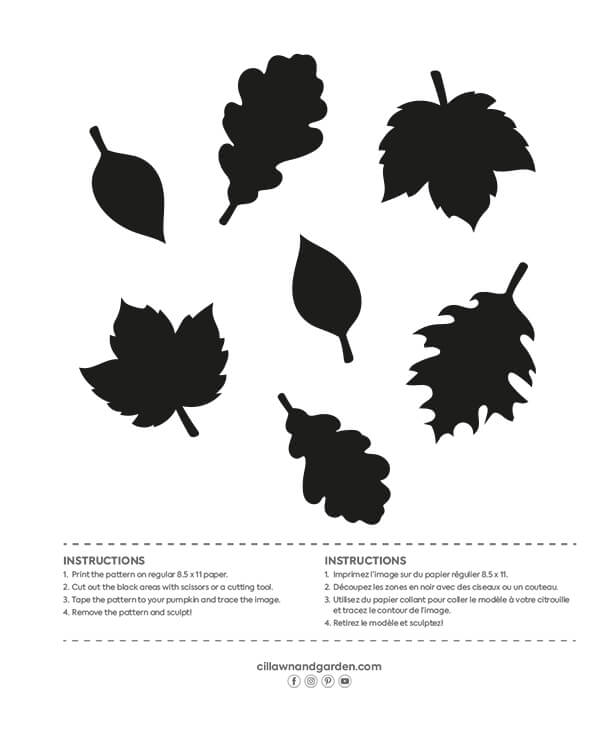
Select and print one of the models suggested below. Stick the template to your pumpkin with adhesive tape. Using your tool, drill holes every 1/8 or 1/4 inch to replicate the outlines of the image.
Step 4. Carving the pumpkins
Consult the following article to get more details on each step, discover other techniques or access more models: Halloween Pumpkin Designs | PRO-MIX
Step 5. Lighting your Halloween pumpkins
The light sources used must not come into contact with the inside of the pumpkin. It is recommended to unplug them when left unattended to prevent any risk of fire.
Click here to download and print.
